Read Full Assembly Video Transcript & Timestamps (7:41)
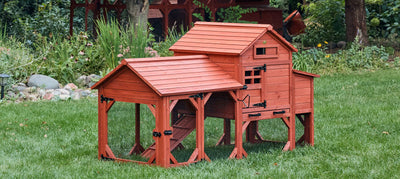
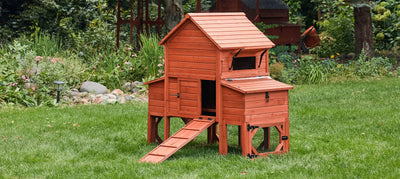
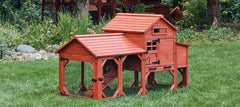
0:00 — Unboxing & Egg Apron: This is the Rhode Island Homestead hen house. Every chicken coop we sell includes our hand-sewn 14-pocket egg apron, designed to hold your eggs and keep your hands free for whatever you need to do around your coop and garden. The boxes are packaged to protect the panels. Even if the outside of a box shows some damage, the components inside should be damage-free.
0:22 — Main Frame (Panels A–E): Take out panels A through E and follow the instructions to assemble them. There are four dowels that line up with pre-drilled holes. Set the dowels in the holes, hold the panels together and drive the screws. The instructions list which screws to use. These are the longest screws in the kit. The screening and staples go on the inside of the coop. Panel B needs to be flush with the bottom to leave space for the clean-out drawer.
1:23 — Step 2: Nesting Box: For the nesting box we need panels F, G and H. The three sides go on with the high side directly against the coop. Line up the pre-drilled holes, drive the screws and make sure it's level. You can prop the nesting box lid up to grab eggs without holding the roof. This panel goes inside as the floor of your nesting box. The side with the two raised pieces of wood is the top. The dividers slide into the bottom and side of the nesting box.
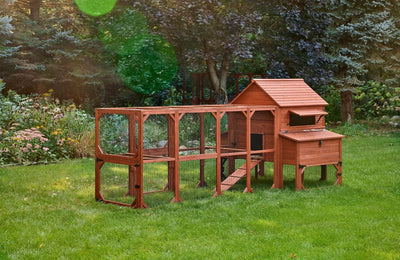
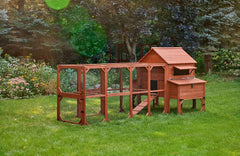
2:42 — Step 5: Nesting Box Roof & Hardware: Step five starts with attaching the nesting box roofs. Check that the pre-drilled holes line up and that your latch lines up in front. We use heavy-duty stainless steel hardware, and this heavy-duty clip helps keep predators out and your birds safe. The door window has a locking mechanism so you can ventilate during the day. In the evening, pull these down to keep predators from opening the window and getting to the screen. This piece attaches to the door when you have a run extension. It sticks out through the run, so you can open and close the door without going into the run.
3:54 — Step 6: Roosting Rods: Step six is M and N, the roosting rods. Put the lower rods in first, rounded edges up and flat edges down. The top roosting rod goes in at an angle from one part of the panel to the other, which supports and strengthens the coop.
4:21 — Flashing, Roof Panels & Top Cap: To keep the girls dry, we've added flashing here, so water coming off the roof hits the flashing and runs off. Line it up with the pre-drilled holes. Panel O is the roof panel, with reinforcing strips and a liner to help keep the ladies dry. It falls into place easily, with four screws in pre-drilled holes. Repeat the same process on the other side. With the roof panels in place, the top cap goes on. I like to center the cap with about a quarter inch on each side. It will feel right when it's right. The screws go in the pre-drilled holes.
5:28 — Clean-Out Tray: This is the reinforced cleaning tray. The poop tray slides in right here. Leave the coop open the first time you put it in so you can see how easily it slides. Down the road, I like to wax both sides.
5:55 — Hasp & Adjustco Locks: On the door there are three marked spots for the hasp. Put the other component on the frame, close the hasp to make sure it's lined up, then screw it in. We use Adjustco locks. We've partnered with that company, and they're an amazing product. Those spots are pre-marked too. Line up the side piece and make sure it lines up perfectly. Adjustco has a patented bolt receiver that adjusts up and down, so as the lid changes over time, it's still easy to latch.
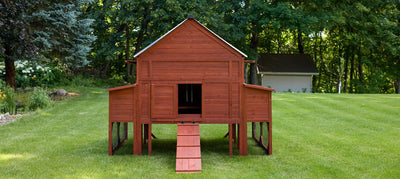
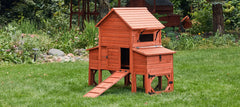
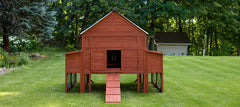
7:04 — Ladder & Finish: The ladder is the last step. It goes in front of the doorway, and there are pre-marked spots for the hinges. Screw it in place for easy access. Thank you for buying a Chicken Coop Company coop. Our family appreciates you, and we look forward to your comments and recommendations. We hope you and your girls enjoy this coop.






 Fox
 Raccoon
 Snake
 Opossum


 Hawk
 Eagle
 Owl


 Dog
 Bear


