




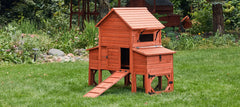
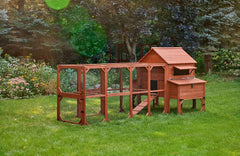
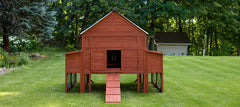




Build day, made simple
Easy Chicken Coop Assembly
Built for homeowners, not carpenters
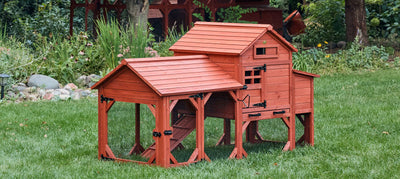
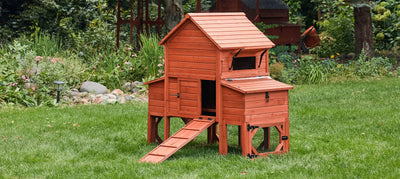
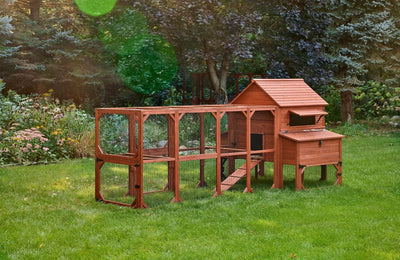
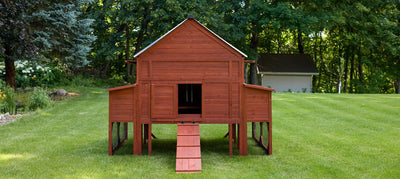
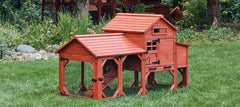
Panels arrive pre-built and flat-packed, with every piece numbered and every screw hole marked. The Leghorn Cottage goes together in about an hour, and the Orpington, Rhode Island and Brahma in about 3 hours. No tricky installation, just a screwdriver and an afternoon.
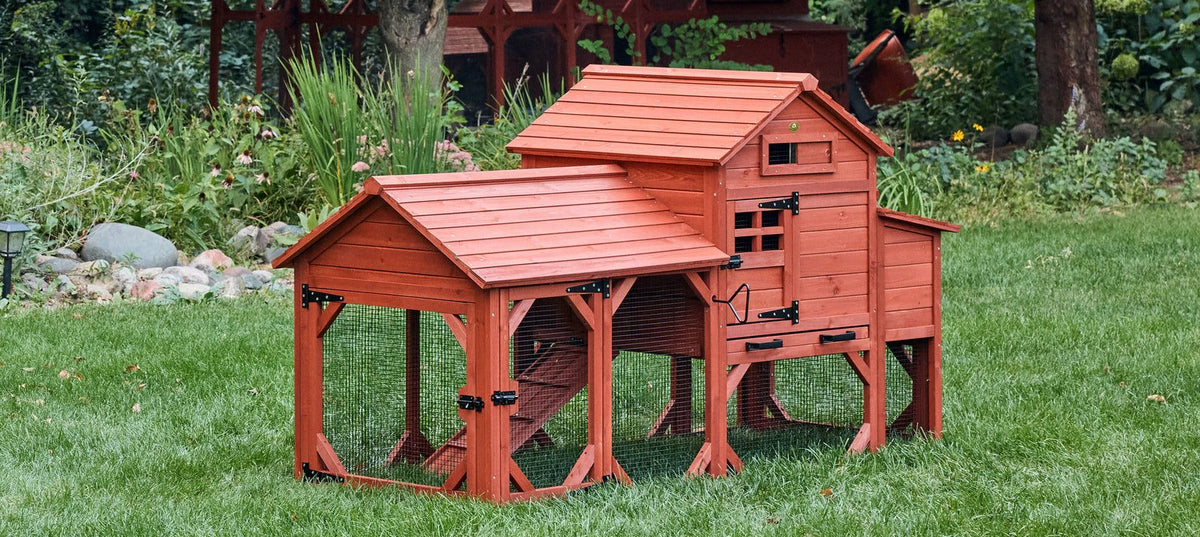
See it come together
Less “some assembly required,” more “done by lunch.”

Watch every coop's build
What you’ll need
No special tools and no carpentry experience.
-
A power drill or screwdriver
That’s the whole tool list. No cutting or modifying parts.
-
About 1 to 3 hours
About an hour for the Leghorn Cottage, about 3 hours for the Orpington, Rhode Island and Brahma.
-
A level spot
Flat, well-drained ground. Assemble near the final spot to avoid heavy lifting later.
-
An extra set of hands
Solo builds work, but a helper makes the roof sections easier.
-
Instructions and videos
Step-by-step instructions and videos for every coop, run and roof.
-
Cold lemonade
Optional, but highly recommended.
Pre-assembled panels
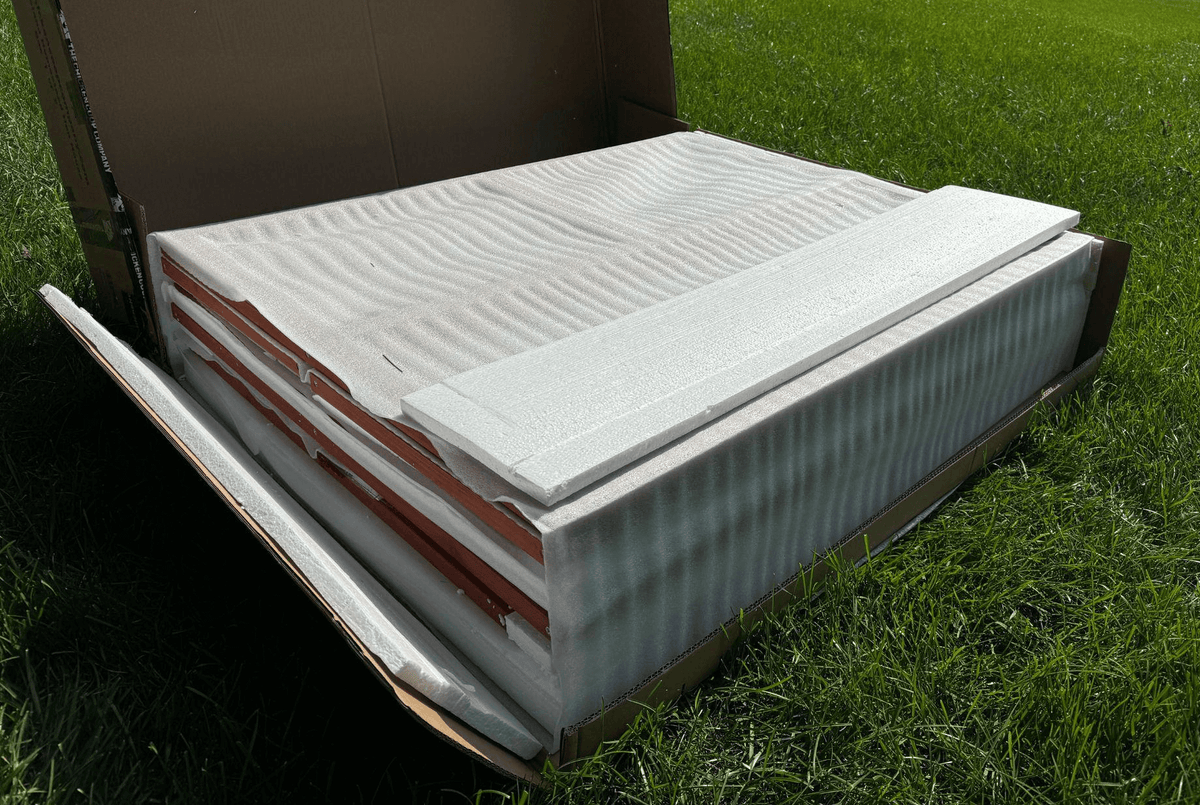
Your coop arrives pre-assembled in flat panels. All the cutting, gluing and stapling is done for you, so you’re just bolting panels together and attaching a few included hardware pieces.
Every part is numbered and every pre-drilled screw hole is marked, so the instructions go in order.
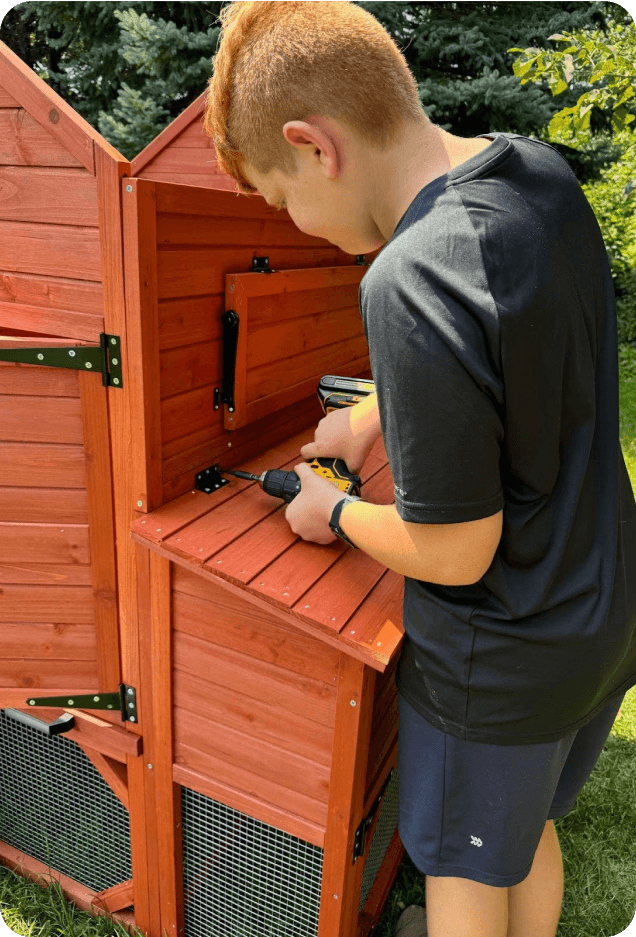
How build day goes
A little prep makes build day smooth and predictable.
“Our coops are designed for real people. No advanced skills required. Just patience, a few basic tools, and a little prep.”
-
Check every box first
Open all the boxes and make sure everything is there before you start. Boxes can arrive on different days.
-
Level the ground
Pick flat, well-drained ground and avoid low spots where water collects. Gravel, pavers or leveled soil all work. Skipping this step causes alignment trouble later.
-
Follow the numbered parts
Work through the instructions in order. Snug the hardware, but don’t over-tighten it.
-
Anchor it down
We recommend anchoring your coop. A stake on each side of the hen house and run is enough.
What flock owners say about assembly
4.8★ average from 3,056 verified reviews
Well made, easy to assemble. Great shipping time. Awesome coop!
Easy to put together. Nice and roomy. Well made. Arrived early. If I needed another, I'd buy it again.
It was so easy and quick to build this coop. We will definitely buy from this company again. Our flock love their new home.
Instructions and help
-
Download instructions
Printable instructions for every coop, run, roof and waterer.
Assembly Instructions -
Watch the videos
Assembly videos for each coop and run.
Watch Videos -
Stuck? Call or email
Real Support from Real People. We’d rather help than have you feel stuck.
888.264.6152
After the build
Is a small gap or snug fit normal?
Yes. Small gaps, snug fits and panels settling can be part of the process. Re-read the previous step, check that the coop sits on level ground and confirm panels face the right way.
Do I need to stain or paint it right away?
No. Every coop ships with 2 coats of factory stain, protected out of the box. Like any outdoor structure, plan on a fresh coat of stain down the road.
What if a part is missing or damaged?
Take a photo of the part and the box and send it to us. Replacement parts are always available through our Part Replacement Guarantee.

Ready for build day?
Pick your coop. We’ll be here if you need a hand.