Table of Contents
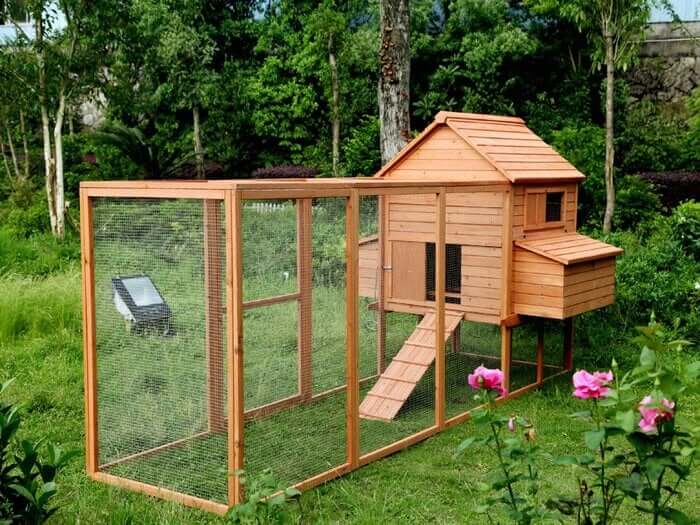
Raising chickens is a fun experience, whether you’re in it for fresh eggs, pest control or just the joy of watching these feathered friends strut around your backyard. But keeping your flock healthy and happy requires more than just a cozy coop and a steady supply of feed. One often-overlooked part of chicken care is providing a proper chicken dust bath. This simple setup is a natural and essential part of their routine, helping them stay clean, pest-free and content. In this guide we’ll go into why a chicken dust bath is so important and show you how to build a DIY version your chickens will love.
 Why Chickens Need a Dust Bath
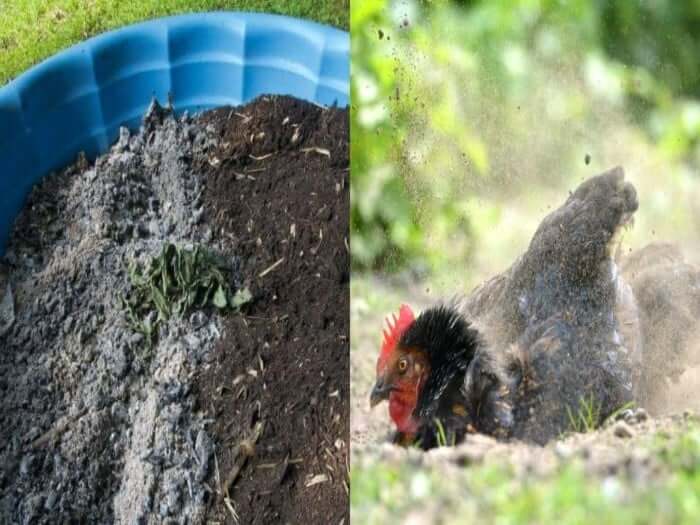
Chickens don’t hop into a tub of water to clean themselves like we do. Instead they use a chicken dust bath to clean themselves. Dust bathing is an instinctive behavior where chickens dig into loose dry soil or other materials, fluff it through their feathers and shake it off. This process serves several critical purposes:
Parasite Control: A chicken dust bath helps chickens get rid of mites, lice and other external parasites that can irritate their skin or cause health issues. The dust clogs the breathing pores of these pests, effectively reducing their population.
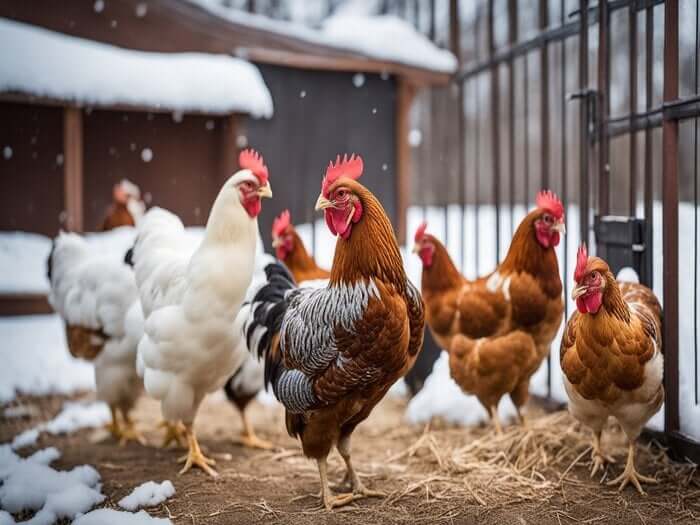
Feather Maintenance: Dust bathing keeps feathers clean and in good condition by removing excess oils and debris. Clean feathers are better at insulating chickens, which is especially important in extreme weather.
Skin Health: Dust bathing exfoliates a chicken’s skin, preventing buildup of dead skin cells and keeping their skin healthy.
Stress Relief: Chickens love dust bathing – it’s like a spa day for them. It’s a natural behavior that reduces stress and promotes overall well-being.
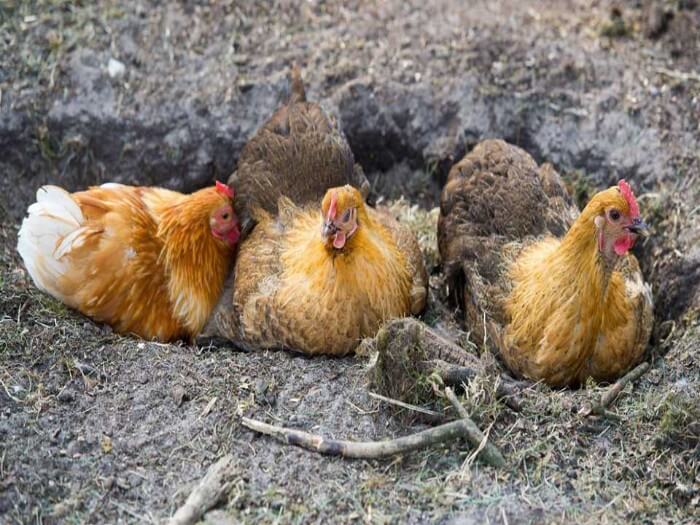
Without a chicken dust bath your flock may get stressed, develop skin irritations or get parasite infestations. If you’ve seen your chickens digging holes in your yard or rolling in dry patches of dirt, they’re probably trying to create their own dust bath. Providing a dedicated chicken dust bath ensures they can do this safely and effectively.
What Makes a Good Chicken Dust Bath?
Before we get into the DIY steps, let’s talk about what makes a chicken dust bath effective. Chickens are picky about their bathing spots and a poorly designed dust bath might go unused.
Here’s what you need to consider:
Location: Place the dust bath in a dry, sunny spot where chickens feel safe. Avoid areas that get muddy or are too close to their food and water to prevent contamination.
Size: The dust bath should be large enough for multiple chickens to use at once, as they often bathe together. A good rule of thumb is at least 2 feet by 2 feet for a small flock.
Depth: The dust bath should be at least 6-8 inches deep to allow chickens to dig and roll comfortably.
Materials: Common ingredients include sand, dry soil, wood ash, and food-grade diatomaceous earth. You can also try a ready-made mix like the Preen Queen Dust Bath Additive for added convenience.
By keeping these factors in mind you can create a chicken dust bath that your flock will flock to (pun intended).
 How to Build a DIY Chicken Dust Bath
Creating a chicken dust bath is an easy and budget-friendly project that can be done in an afternoon. Below we’ll outline two methods: a simple ground-based dust bath and a portable container-based dust bath. Both are effective, so choose the one that best suits your space and needs.
Option 1: Ground-Based Chicken Dust Bath
This method is ideal if you have a dedicated space in your yard and want a low-maintenance solution.
Materials Needed:
A shovel or garden hoe
Dry soil or sand (about 2-3 cubic feet)
Wood ash (from untreated wood)
Food-grade diatomaceous earth (optional)
Bricks, stones or wooden boards for borders
Steps:
Choose the Location: Select a dry, sunny spot in your chicken run or yard. Make sure it’s protected from wind and rain to keep the dust bath dry.
Dig the Pit: Use a shovel to dig a shallow pit, about 2 feet by 2 feet and 6-8 inches deep. If you have a larger flock consider making it bigger.
Create a Border: Line the edges of the pit with bricks, stones or wooden boards to contain the dust and give it a tidy appearance.4. Fill the Dust Bath: Mix equal parts dry soil or sand with wood ash. If using diatomaceous earth add a small amount (about 1 cup per 10 cubic feet of material). Fill the pit with the mixture leaving some room for the chickens to dig.
Test and Maintain: Let the chickens try it out. Check the dust bath regularly to ensure it stays dry and loose. Refill or fluff the material as needed.
This ground-based chicken dust bath is low-cost and blends in with your yard. However it’s less portable and may require more maintenance in wet climates.
Option 2: Portable Container-Based Chicken Dust Bath
If you prefer a more flexible option or don’t have space for a permanent dust bath a container-based chicken dust bath is a great choice. You can move it as needed and even bring it indoors during bad weather.
Materials Needed:
A large, shallow container (e.g. an old tire, plastic storage bin or wooden crate)
Sand or dry soil
Wood ash
Food-grade diatomaceous earth (optional)
Drill (if using a plastic container)
Steps:
Choose a Container: Select a sturdy container that’s at least 2 feet wide and 6-8 inches deep. Old tires work well because they’re durable and naturally contain the dust. If using a plastic bin drill a few drainage holes in the bottom to prevent water buildup.
Prepare the Container: Clean the container thoroughly to remove any dirt or chemicals. If using a tire ensure it’s free of debris.
Mix the Dust: Combine equal parts sand or dry soil with wood ash. Add a small amount of food-grade diatomaceous earth if desired. Stir well to ensure an even mixture.
Fill the Container: Pour the mixture into the container filling it to about 1 inch from the top. This gives the chickens room to dig without spilling too much material.
Place the Dust Bath: Put the container in a sunny, accessible spot in your chicken run or yard. If it’s lightweight secure it with bricks or stakes to prevent tipping.
Maintain Regularly: Check the dust bath weekly to fluff the material and add more if it gets low. Replace the mixture every few months or if it becomes damp or compacted.This portable chicken dust bath is perfect for small spaces or urban chicken keepers. It’s easy to clean and can be moved to keep your yard tidy.
Tips for a Successful Chicken Dust Bath
To make sure your chicken dust bath is a hit with your flock, remember:
Keep It Dry: Wet dust baths are useless and can become breeding grounds for bacteria. Cover the dust bath during rain or move portable ones to a sheltered area.
Refresh Regularly: Over time the dust will compact or get scattered. Fluff it with a rake or add fresh material as needed.
Observe Your Chickens: If they’re not using the dust bath, it might be too small, in a bad location or the material might not be to their liking. Try different mixtures or spots.
Avoid Harmful Additives: Never use chemical-treated wood ash or non-food-grade diatomaceous earth, as these can harm your chickens.
 Benefits of a DIY Chicken Dust Bath
Building your own DIY Dust Bath is not only cost-effective but also lets you customize it to your flock’s needs. You can use eco-friendly materials, repurpose items like old tires or bins and create a setup that fits your space. Plus, watching your chickens roll around in their new dust bath is hilarious—they’ll thank you with happy clucks and dust-flinging fun.
Conclusion
A chicken dust bath is more than just a funny chicken behavior—it’s an essential part of keeping your flock healthy, clean and happy. By providing a dedicated space for dust bathing you’re supporting their natural behavior and protecting them from parasites and stress. Whether you go for a simple ground-based pit or a portable container, a DIY Dust Bath is a quick and easy project your chickens will love. So get some sand, ash and a shovel and get ready to give your flock the ultimate spa treatment!
FAQs
What is a chicken dust bath and why do chickens need it?
A chicken dust bath is a mix of dry, loose materials like sand, soil, and ash that chickens roll around in to clean themselves. It helps control mites and lice, keeps feathers clean, and supports skin health and stress relief.
How do I make a dust bath for chickens at home?
You can create a simple chicken dust bath by mixing dry soil, sand, and wood ash. Use a pit in the ground or a shallow container like a tire or bin, and place it in a sunny, dry spot.
What should I put in a chicken dust bath?
A good chicken dust bath includes:
Dry soil or sand
Wood ash (from untreated wood)
Food-grade diatomaceous earth (optional)
You can also use a pre-mixed product like Preen Queen Dust Bath Additive.
Can I use a plastic bin for a dust bath?
Absolutely! Plastic bins, crates, or old tires make great portable dust baths. Just make sure they’re large enough and have drainage holes if left outside.